
Customer Portal (Setup)
Updated: 2024-03-28
First Steps
- The builder must “Register as Home-builder” in the Portal - https://ca.homebuilder-portal.com/
- Click on “Register as Home-builder”, Accept EULA
- Enter Email, password, and other required information.
- Suite Engine will receive and review your information. As the first company use a Company that will NOT be deleted in the future (i.e.: a permanent Production company. It does not require to have Lots.)
- You will receive an email to complete the registration.
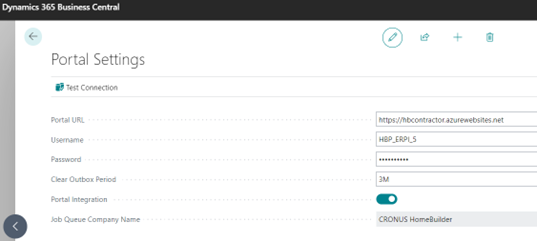
- The builder must log in to the portal with the new login information and go to Setup. From there, find the connection string and go to Business Central, search “Portal Settings” and copy this information to the “Portal Settings” in Business Central.
- Portal URL: http://cahomebuilderportal.azurewebsites.net
- Username: available in the portal setup.
- Password: to be entered by the builder in the portal setup and also to the Portal Settings page in Business Central.
- Clear Outbox Period: 3 months is standard.
- Portal Integration: Set on.
- Job Queue Company Name: Just for reference. If an Administrator needs to know where the Job Queue is running, they can refer to this field.
- After entering all the information, click on the “Test Connection” at the top of the page.
- You will receive a message confirming the test connection was successful.
Setup for Testing
- Create a fake lot (best in the first Phase that you want to make available to customers).
- Create a fake customer and multiple contacts with e-mail addresses that both you (the builder) and Suite Engine can access – we will provide one address for you. Business Central Requirements
- Contacts must exist under the Lot and the contact must have an email address.
Notes:
- The customer on the Lot is not enough, and neither is the general contact that Microsoft automatically creates. You must have the contacts classified as a person within the customer attached to the Lot.
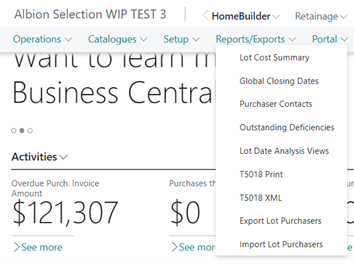
- You can see a list of contacts that currently exist from the HomeBuilder
- Reports/Exports menu – Export Lot Purchasers.
- You can see a list of contacts that currently exist from the HomeBuilder
- You can manually create (Purchaser Contacts-> create New), or you can import all contacts against existing customers by exporting and importing via Excel on the main menu:
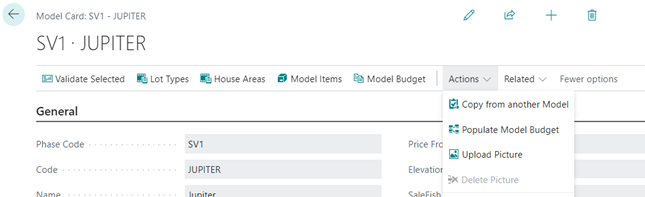
Business Central Recommended
- Upload an image of the Model in HomeBuilder to the Model card page:
Final Steps
- Go to the Phase that needs to be integrated with the portal.
- Turn on or off all the Portal information that you would like to share with the home buyers.
- Finally, under the Actions button click on “Publish in Portal”.
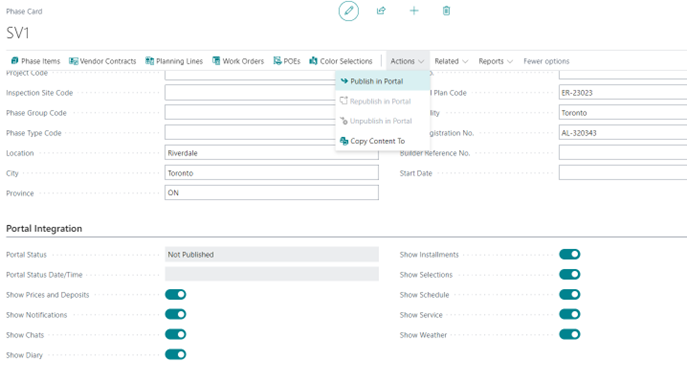
Portal Integration FastTab Definitions
To access, search Phases and open a Phase Card.
- Show Prices and Deposits: as the name suggests.
- Show Notifications: you can push notifications with attachments. There is an acknowledgment of receipt.
- Show Chats: between you and the buyer. Currently accessed from the Portal.
- Show Diary- pictures and comments from the construction. HomeBuilder can post them. You can post to multiple lots at the same time.
- Show Installments- as the name suggests.
- Show Selections: shows Selection packages available to the customer. (Color Charts) It shows what the customer is being charged for or the zero-dollar choices.
- Show Schedule: displays the construction schedule. Most builders do not want to share this information
- Show Service: the buyer might schedule a service call.
- Show Weather – it conveniently shows the weather near the construction site.